SSL certificate need to be installed on the server where the CSR was generated, this is crucial to ensure the installation is successful.
Below are the steps to install SSL certificate on Windows IIS.
1. Copy and extract the SSL file to your Windows server.
2. Open IIS and click on your server name.
3. Click Server Certificates icon under IIS section.
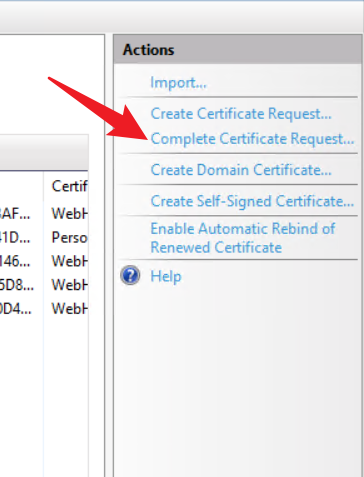
4. Click Complete Certificate Request link under Actions section on the right-hand panel.
5. Fill in the following details.
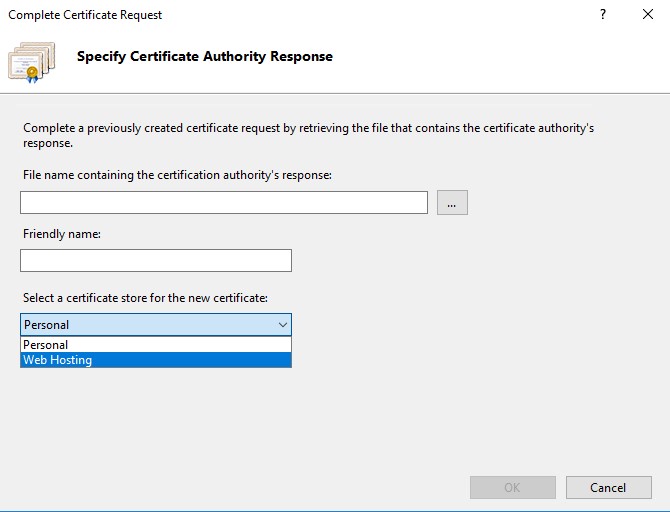
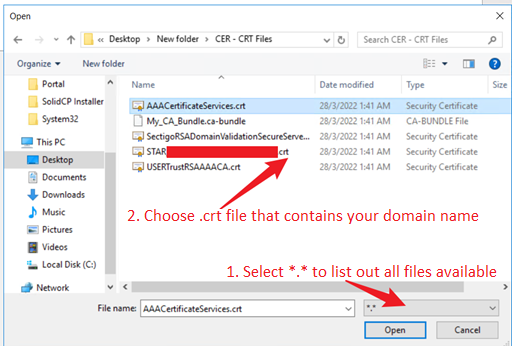
File name containing the certificate authority's response: Click on ... button to select the SSL certificate
Friendly name: Enter domain name assigned to the SSL certificate
Select a certificate store for the new certificate: Choose Web Hosting from the drop-down menu
6. Click OK.
7. Bind the SSL certificate to your website.
Note: The default extension for SSL certificate in IIS is .cer, but you may also install SSL with other extension such as .crt.