Incoming mail received from senders listed in the Allow list will always be allowed, regardless of the message classification.
1. Login to the spam filtering service.
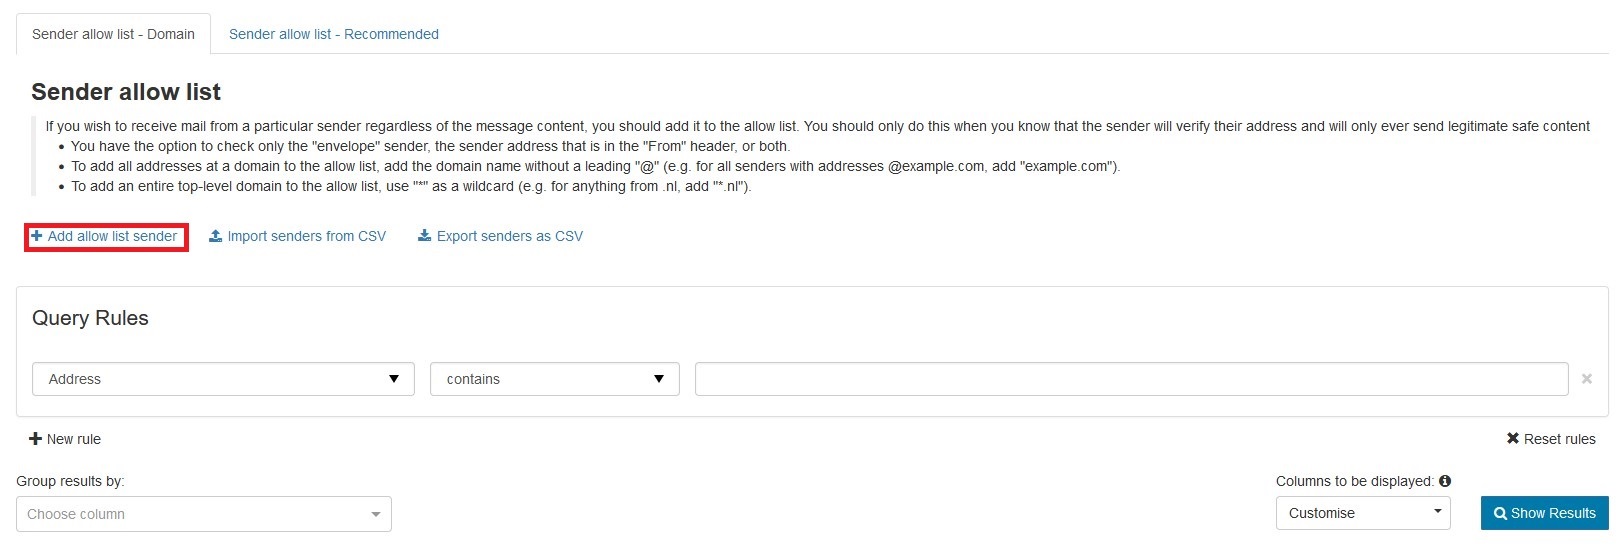
2. Go to "Incoming - Protection Settings" > "Sender allow list".
3. Click on Add allow list sender.
4. When Add allow list sender window pops up, fill in the following information:
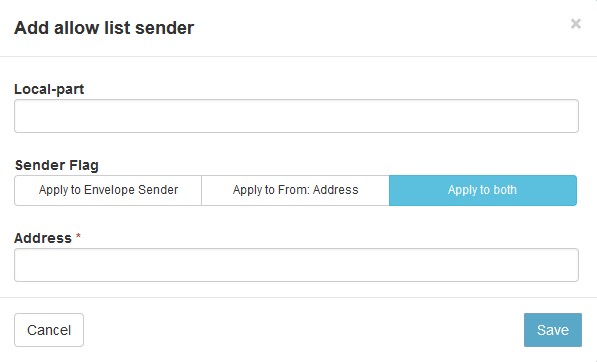
Local-part: Specify the local-part of the recipient address at the domain or leave blank to apply to the whole domain
For example, to apply the entry to user1@domainname.com, only enter user1 in the local part (please replace user1 with the actual sender's username). Leave this box blank if to apply to the whole domain.
Sender Flags: Apply to both
Address: Enter the sender's email address
To add a whole domain to the sender Allow list, use a wildcard here by entering the domain in the format: *@domainname.com (please replace domainname.com with actual domain name).
5. Click Save to save the changes.